How to Hide WooCommerce Shipping Methods (2 Easy Ways)
Want to boost sales by showing the right shipping options in your online store? Learn how to hide WooCommerce shipping methods with our beginner-friendly guide.
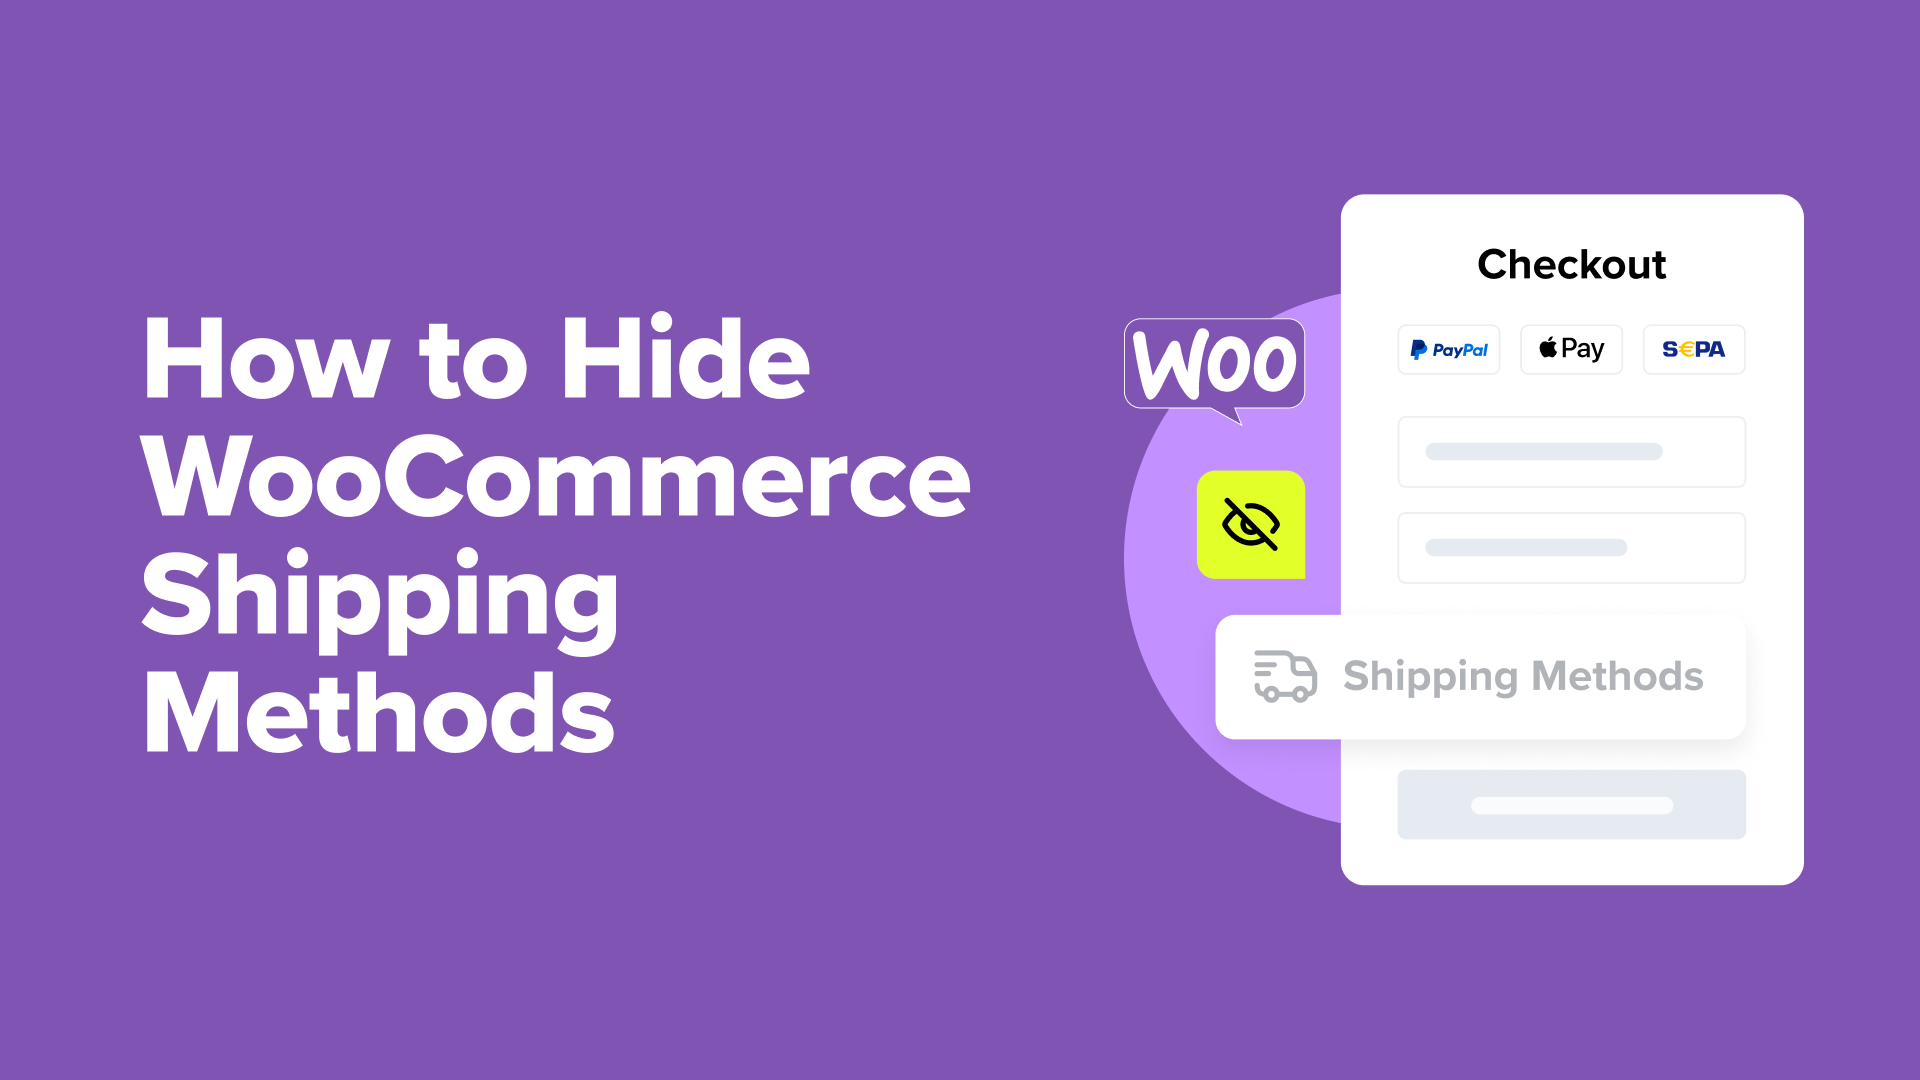
Table of Contents
Shipping can make or break your online store, and knowing how to hide specific shipping methods in WooCommerce can be a game-changer.
Think about it: offering free shipping on every single order sounds nice, but it can eat into your profits fast. And showing shipping options that don’t even work for a customer’s location? That’s just asking for frustrated emails and abandoned carts.
Plus, during super busy times (like the holiday season! 🎄), you might need to turn off some shipping options temporarily to make sure you can actually deliver what you promise.
That’s why we often advise WooCommerce store owners to hide shipping methods to protect their bottom line while keeping customers happy. It’s about finding that sweet spot between what works for your business and what works for your shoppers.
In this guide, we’ll show you how to control exactly which WooCommerce shipping methods your customers see and when.

When to Hide Shipping Methods in WooCommerce
Let’s look at some common situations where hiding shipping methods makes perfect sense for your store.
We see store owners doing this all the time to solve real business challenges and often boost conversions along the way:
- Protecting Your Profits: Maybe you can’t afford free shipping on small orders. That’s totally fine! Just hide that option until orders reach a profitable threshold.
- Location-Specific Shipping: Got customers worldwide? Show them only the shipping methods that actually work for their region. No one needs to see options they can’t use.
- Managing Busy Seasons: During holiday sales, you might need to temporarily hide express shipping to make sure you can keep up with orders.
- Streamlining Checkout: Sometimes less is more. Showing fewer but more relevant shipping options can reduce cart abandonment and increase conversions.
Besides hiding shipping methods, we always recommend adding a free shipping bar to your website. It’s a simple way to let shoppers know exactly which shipping options are available to them and what they need to do to unlock better rates.
That being said, we’ll show you 2 proven methods to hide WooCommerce shipping options. You can use the quick links below to skip to your preferred section:
Note: In this article, we will assume that you have already set up a WooCommerce store. If you need help, you can read our guide on how to start an online store or our WooCommerce made simple tutorial.
Method 1: Configure Free Shipping Settings in WooCommerce (Quick and Simple)
For this method, you don’t need any special WooCommerce extensions or plugins to hide the free shipping method based on minimum order requirements.
It’s perfect if you only want to hide the ‘Free Shipping’ option until a customer qualifies for it.
Keep in mind that it will not automatically hide your other paid shipping options (like ‘Flat Rate’) once a customer qualifies for free shipping. To do that, you will need to use Method 2.
Let’s start by accessing your shipping settings. Head over to your WordPress dashboard and click WooCommerce » Settings. Once there, look for the ‘Shipping’ tab at the top of the page.

You’ll see two options for setting up your shipping zones. You can either create a new zone by clicking ‘Add zone’ or modify an existing one.
For this guide, we’ll walk you through creating a new zone.

Now, give your shipping zone a meaningful name that describes the area it covers. You might call it something like ‘US Mainland,’ ‘Latin America,’ or ‘Europe.’
Then, add your zone regions by selecting specific countries, states, or even cities.

Once you’ve set up your zone, scroll down to find the ‘Add shipping method’ button.
Go ahead and click it to see your available options.

WooCommerce will now show you a simple choice between free shipping and flat-rate shipping.
Select ‘Free shipping’ from the options and click ‘Continue.’ This opens a new window where you can customize when free shipping appears for your customers.

Now comes the important part: choosing how customers can qualify for free shipping.
WooCommerce offers several options in the dropdown menu, including no requirements, coupon codes, minimum order amounts, or combinations of both.

Let’s say you want to hide the free shipping discount until customers reach a specific order value. To do this, select ‘Minimum order amount’ and enter your target amount. For example, you might set it to $50 or $100.
You can also check the ‘Apply minimum order rule before coupon discount’ option if you want the minimum amount calculated before any discounts.

Once done, click ‘Create and save.’
Your free shipping method will now automatically hide itself from customers who haven’t met the requirements. It will only appear as an option when they’ve qualified by meeting your conditions.

Method 2: Use Hide Shipping Method for WooCommerce (More Customizable)
While the built-in WooCommerce settings work for basic needs, they don’t offer much flexibility.
In that case, this method is for you. It will help you hide specific shipping methods based on product categories or cart content using a dedicated plugin.
The Hide Shipping Method for WooCommerce plugin gives you more control over your shipping options. This freemium plugin lets you create custom rules for showing or hiding different shipping methods at checkout.
We’ll use the free version for this tutorial since it covers the most common needs. However, if you need advanced features like hiding specific shipping methods when free shipping is available or creating rules based on product SKUs, you can check out the premium version.
👋 The premium version of Hide Shipping Method for WooCommerce is included in the Dotstore bundle of tools. It comes with multiple plugins that provide advanced WooCommerce features for discounts, pricing, size charts, and more.
We’ve tested this entire suite of plugins in the past, so you can check out our full Dotstore review if you’re interested.
Let’s get started by installing the Hide Shipping Method for WooCommerce plugin. If you’re new to this process, check out our beginner’s guide on how to install a WordPress plugin.
Once you’ve activated the plugin, go to WooCommerce » Hide Shipping. Now, let’s start setting up the plugin.
Choose a Condition to Hide WooCommerce Shipping Methods
When you open the ‘General Settings’ tab, you’ll see several ways to control your shipping options. These settings help you decide when and how shipping choices appear in your store.

Let’s look at what each option does:
- Hide all other shipping methods when Free Shipping is available: This is a popular choice. It automatically hides paid options like ‘Flat Rate’ as soon as a customer qualifies for free shipping.
- Hide all other shipping methods when Free Shipping or Local Pickup is available: This works just like the option above but also applies if the customer can use local pickup.
- Hide specific shipping method when Free Shipping is available (Premium): This gives you more control, letting you hide some paid options but keep others (like express shipping) visible.
- Conditional Hide shipping method Rules: This is the most powerful option. It lets you create your own custom rules to hide shipping methods based on products, categories, location, and more.
- Hide all shipping methods: This turns off all shipping options. It’s useful if you only sell digital products.
After picking your preferred option, just click ‘Save Settings’ to make your changes live.
For this tutorial, we recommend choosing ‘Conditional Hide shipping method Rules’ because it offers the most flexibility.
Once you select it and save your settings, a new tab called ‘Manage Rules’ will appear.
Configure Rules to Hide Shipping Methods
Once you’ve switched to the ‘Manage Rules’ tab, you’ll see an ‘Add New’ button waiting for you.
Click it to start creating your first shipping rule.

Getting your rule ready is simple. First, find the ‘Status’ switch and turn it on. This activates the rule in your store.
Now, you need to give your shipping rule a name. Choose something that helps you remember what the rule does.
For example, you might call it ‘Hide Same-Day Shipping for X Items.’
Next, find the shipping method dropdown menu. This will display your shipping zone name along with available shipping methods.

Scroll down until you find the ‘Basic Hide Shipping Rules’ section.
This is where the real customization begins. You can create smart rules that automatically hide shipping methods based on specific conditions.

The rule builder has three parts, working together like a simple sentence.
In the left field, you’ll see many options to choose from. You can pick conditions based on location (like country or city), product details (like cart contains product), or even username.

The middle field is your formula. Choose ‘Equal to ( = )’ when you want an exact match or ‘Not equal to ( != )’ when you want to exclude something.
Think of it as telling WooCommerce ‘show this’ or ‘don’t show this.’

The field on the right intelligently changes based on what you select on the left.
For example, if you choose ‘Cart contains product,’ then the right field will let you pick from a list of your products.
But if you choose ‘Cart contains category’s product,’ it will show your product categories instead.

Let’s look at a real example. Say you want to hide same-day shipping for products that need printing.
You would select ‘Cart contains product,’ then ‘Equal to ( = ),’ and finally choose your printed product from the list.
Want to make your rules more detailed? Click the ‘+ Add Rule’ button to create multiple conditions.
This helps you handle complex situations, like hiding specific shipping methods based on order quantity or cart subtotal.

As another example, you could hide ‘Local Pickup’ for customers outside your state. You would set the rule to: ‘State,’ then ‘Not equal to ( != ),’ and then enter your state’s name. This ensures only local customers see the pickup option.
Once you’re happy with your rules, just click ‘Save Changes’ to make them active.
Your shipping methods will now automatically hide or show based on the conditions you’ve set. Here’s an example using the ‘Cart contains product’ + ‘Equal to ( = )’ + product names rule, which hides the same-day shipping option.

Bonus Tips to Optimize WooCommerce Cart and Checkout
Managing shipping methods is just one piece of creating a successful online store.
Here are some of our most helpful WooCommerce guides that can take your store to the next level:
- How to Optimize the Customer Journey for Your WooCommerce Store – Create a smoother shopping experience that turns browsers into buyers.
- How to Set Up Delivery Time Slot in WooCommerce – Let customers choose their preferred delivery times, reducing failed deliveries and improving satisfaction.
- How to Prevent Fraud and Fake Orders in WooCommerce – Protect your store from fraudulent purchases and save money on shipping costs.
- How to Add Express Checkout Buttons in WooCommerce – Speed up the checkout process and reduce cart abandonment rates.
- How to Skip the WooCommerce Cart Page & Redirect to the Checkout Page – Increase conversions by sending customers straight to the checkout page.
- How to Upsell Products in WooCommerce – Boost your average order value by showing relevant product recommendations.
- How to Create a Custom WooCommerce Cart Page – Design a cart page that matches your brand and encourages purchases.
- How to Offer Shipment Tracking in WooCommerce – Keep customers informed about their orders and reduce support queries.
- How to Auto-Apply Coupons in WooCommerce – Make it easier for customers to save money and complete their purchases.
- How to Create an Order Bump in WooCommerce – Increase sales by offering relevant add-ons during checkout.
We hope this article has helped you learn how to hide WooCommerce shipping methods. You may also want to check out our complete guide on WooCommerce SEO made easy and our expert picks of the best WooCommerce dropshipping plugins.
If you liked this article, then please subscribe to our YouTube Channel for WordPress video tutorials. You can also find us on Twitter and Facebook.